


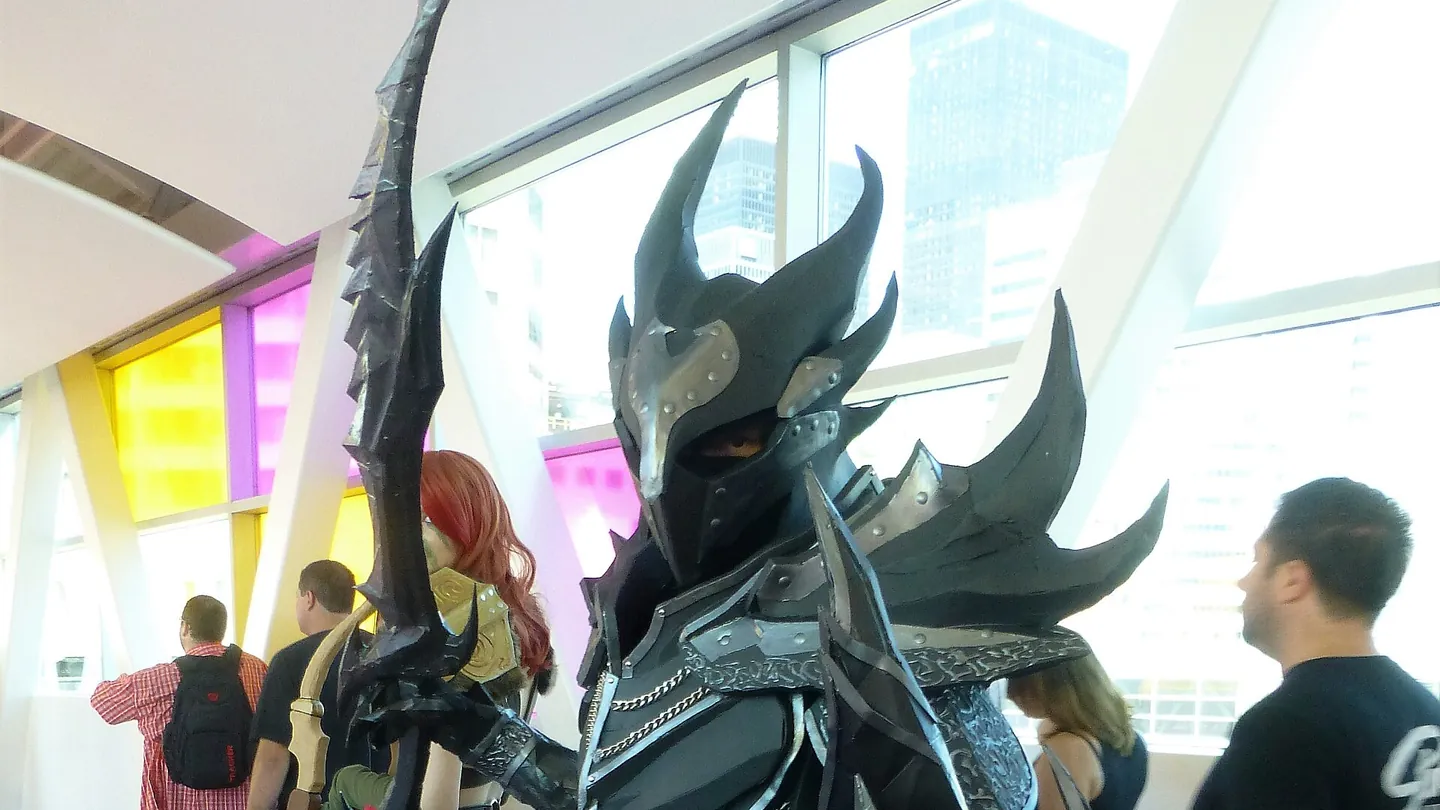
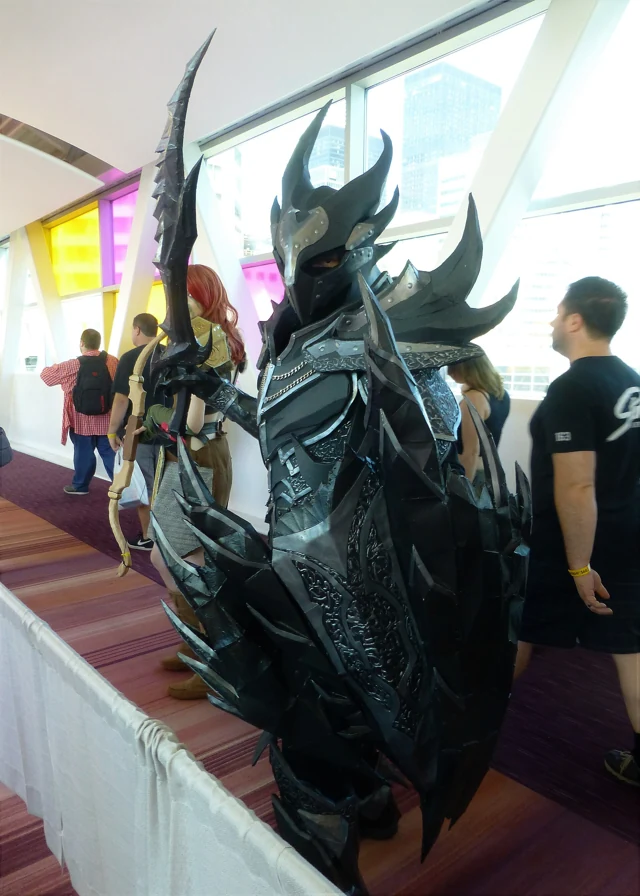
Daedric armor cosplay from Skyrim at Fan Expo Canada 2016. This photograph illustrates a costume; it does not establish its wearer’s comfort or construction method. GabboT. CC BY-SA 2.0. Cropped/resized and converted to WebP.
A shoulder plate can look perfect until you try to reach your own head. Then it meets the collar, lifts the chest piece and turns one small movement into a negotiation.
Plan how cosplay armor attaches and where it needs clearance before you finish the surface. The shape in a reference image is only part of the design. The wearer still needs to turn, reach and get the costume off.
That is why attachment planning deserves its own stage, alongside patterning and paint.
The visible strap may not do the real work
Game art does not have to solve every fastening problem. A belt can look convincing in a picture while sitting in an awkward place on an actual arm.
Kamui Cosplay’s documented Aloy build provides a useful example. The pink belts shown on the bracers did not work as their intended attachments. The pieces were sewn on, leaving those belts as decorative elements.
That is a practical design distinction, not a failure to respect the reference. The finished appearance and the structure underneath do not have to perform the same job.
On your plan, mark which details are visible decoration and which actually support the piece. If one element is supposed to do both, test that assumption early.
Draw the attachment plan from the inside
For each piece, sketch what sits behind it. Mark the base clothing, the point where the piece attaches and the place where you can open the fastening. This is a proposed planning method, rather than a tested pattern.
Then trace the order of dressing. If the chest panel covers a buckle you need to reach later, the sequence needs another look. If removing a shoulder requires taking off the entire costume, decide whether that is practical before finishing it.
Leave room for neighbouring panels to pass each other. A shoulder attachment has to work while reaching forward, not just while standing square to a camera. An edge that pushes the next piece out of place needs attention even if the strap itself holds.
Choose attachments for the job they need to do
Punished Props’ Skyrim build treats strapping as a dedicated part of construction and lists materials including webbing and buckles, hook-and-loop fastening and elastic.
That is a set of options, not a universal recipe. Ask what each attachment needs to accomplish. Does it hold a panel at a fixed distance? Allow a little movement? Open so the costume can be removed? Remain accessible once another piece is on top?
Work through those questions on a small section before repeating the choice across the build. Follow the relevant material and fastening guidance; a short article cannot specify a safe load-bearing arrangement for every costume.
Do one fitting with the full base outfit
A strap adjusted over a T-shirt may fit differently over the actual undersuit, wig or other layers. Include whatever changes the fit before committing to the final arrangement.
Try reaching the fastening yourself. If help is necessary, have the helper practise the removal sequence. Keep a straightforward way to stop the fitting and remove anything uncomfortable. Pain, restricted breathing or impaired sight is a reason to change the design.
For event use, check the organiser’s current rules separately. Comic-Con’s policies, for example, include costume-prop inspection and restrictions. A secure attachment does not make every prop acceptable at every venue.
Paint after the movement questions are answered
Try the major pieces together before the finish makes every adjustment feel costly. You may discover that a hidden fastening needs to move or that a panel needs a different edge.
The goal is not to make the costume look less ambitious. It is to let the person inside it enjoy more than one carefully arranged pose.


Reader Discussion